Many of us prefer the face-to-face, personal interactions afforded by a typical school year. Unfortunately, none of us are experiencing a typical school year. While we may find ourselves in less-than-ideal situations right now, the very traits and skills that make us successful teachers will allow us to create meaningful virtual instruction.
Consider this post equal parts information and pep talk. It may seem like we all have to re-learn how to do our job. I like to think of it a bit differently. I think that we need to take stock of the great things that we were doing prior to March 2020 and figure out how to convert these strategies and lessons to a virtual format.
I will share 5 general strategies, each rooted in dynamic face-to-face instruction, that can be easily accomplished on many virtual platforms.

Virtual White Board
The virtual white board feature is available on several platforms including Zoom. Basically, the teacher can place an image on the screen and all students can access Annotation Features to interact with the image and make marks on the screen. Marks include scribbles, typing, and Emoji-like stamps.
If you happen to be using Zoom, use the following steps:
- Share your screen and activate a PPT slide or other image that you have selected for student interaction.
- Instruct your students to select Annotate and then the tool of their choice.
**Pro Tip: Be sure to save (if you desire) and clear the annotation marks at the end of the activity or all of the marks will follow you to the next slide.

Personal White Board
The Virtual White Board activities are fun, but different situations call for different activities. The Personal White Board response type offers a more individualized (and analog) version. Each student will need a personal dry erase white board, a dry erase marker, and something to erase with (dry eraser, tissue, shirt sleeve, etc.).
For this response type a teacher will provide a prompt or question and encourage students to indicate their response on the white board. You will note that I stress the word indicate because this is not a writing assignment, but rather an exercise in communicating an idea. Students should be free to respond as they wish: a word, a phrase, a sentence, a doodle, a drawing, a figure, etc. On your cue, all students will hold white boards up to their cameras so that you can see. It is always a great idea to provide ample time for all students to process and record their response. I like to say “3, 2, 1, reveal” to get everyone to hold up their boards in unison.
This response type has unlimited potential. Students can pose questions, express opinions, communicate feelings, or demonstrate knowledge by responding to review questions. Be sure to have your gallery view on so that you can see all of your students at once. I also recommend that you take a screen capture so that you can look at individual student responses more closely at a later time if you wish.

Gestures
There are so many ways that gestures can be used as virtual responses. The idea is to have students interact with your instruction and respond to questions by making physical movements in front of the camera. As with the Personal White Board responses, it is advisable for you to use gallery view. Here are a few common uses of gestural responses during virtual instruction:
- Thumbs Up/Thumbs Down– Students use thumbs to respond to agree/disagree or true/false items.
- Hand Raise– Students who agree with a statement raise their hands, students who disagree do nothing.
- Sign Language– For example, you can teach the signs for hard and soft and ask students to classify objects on the screen.
- Human Emoji– Students react to a statement or piece of information by acting out an Emoji.

Pinch Cards
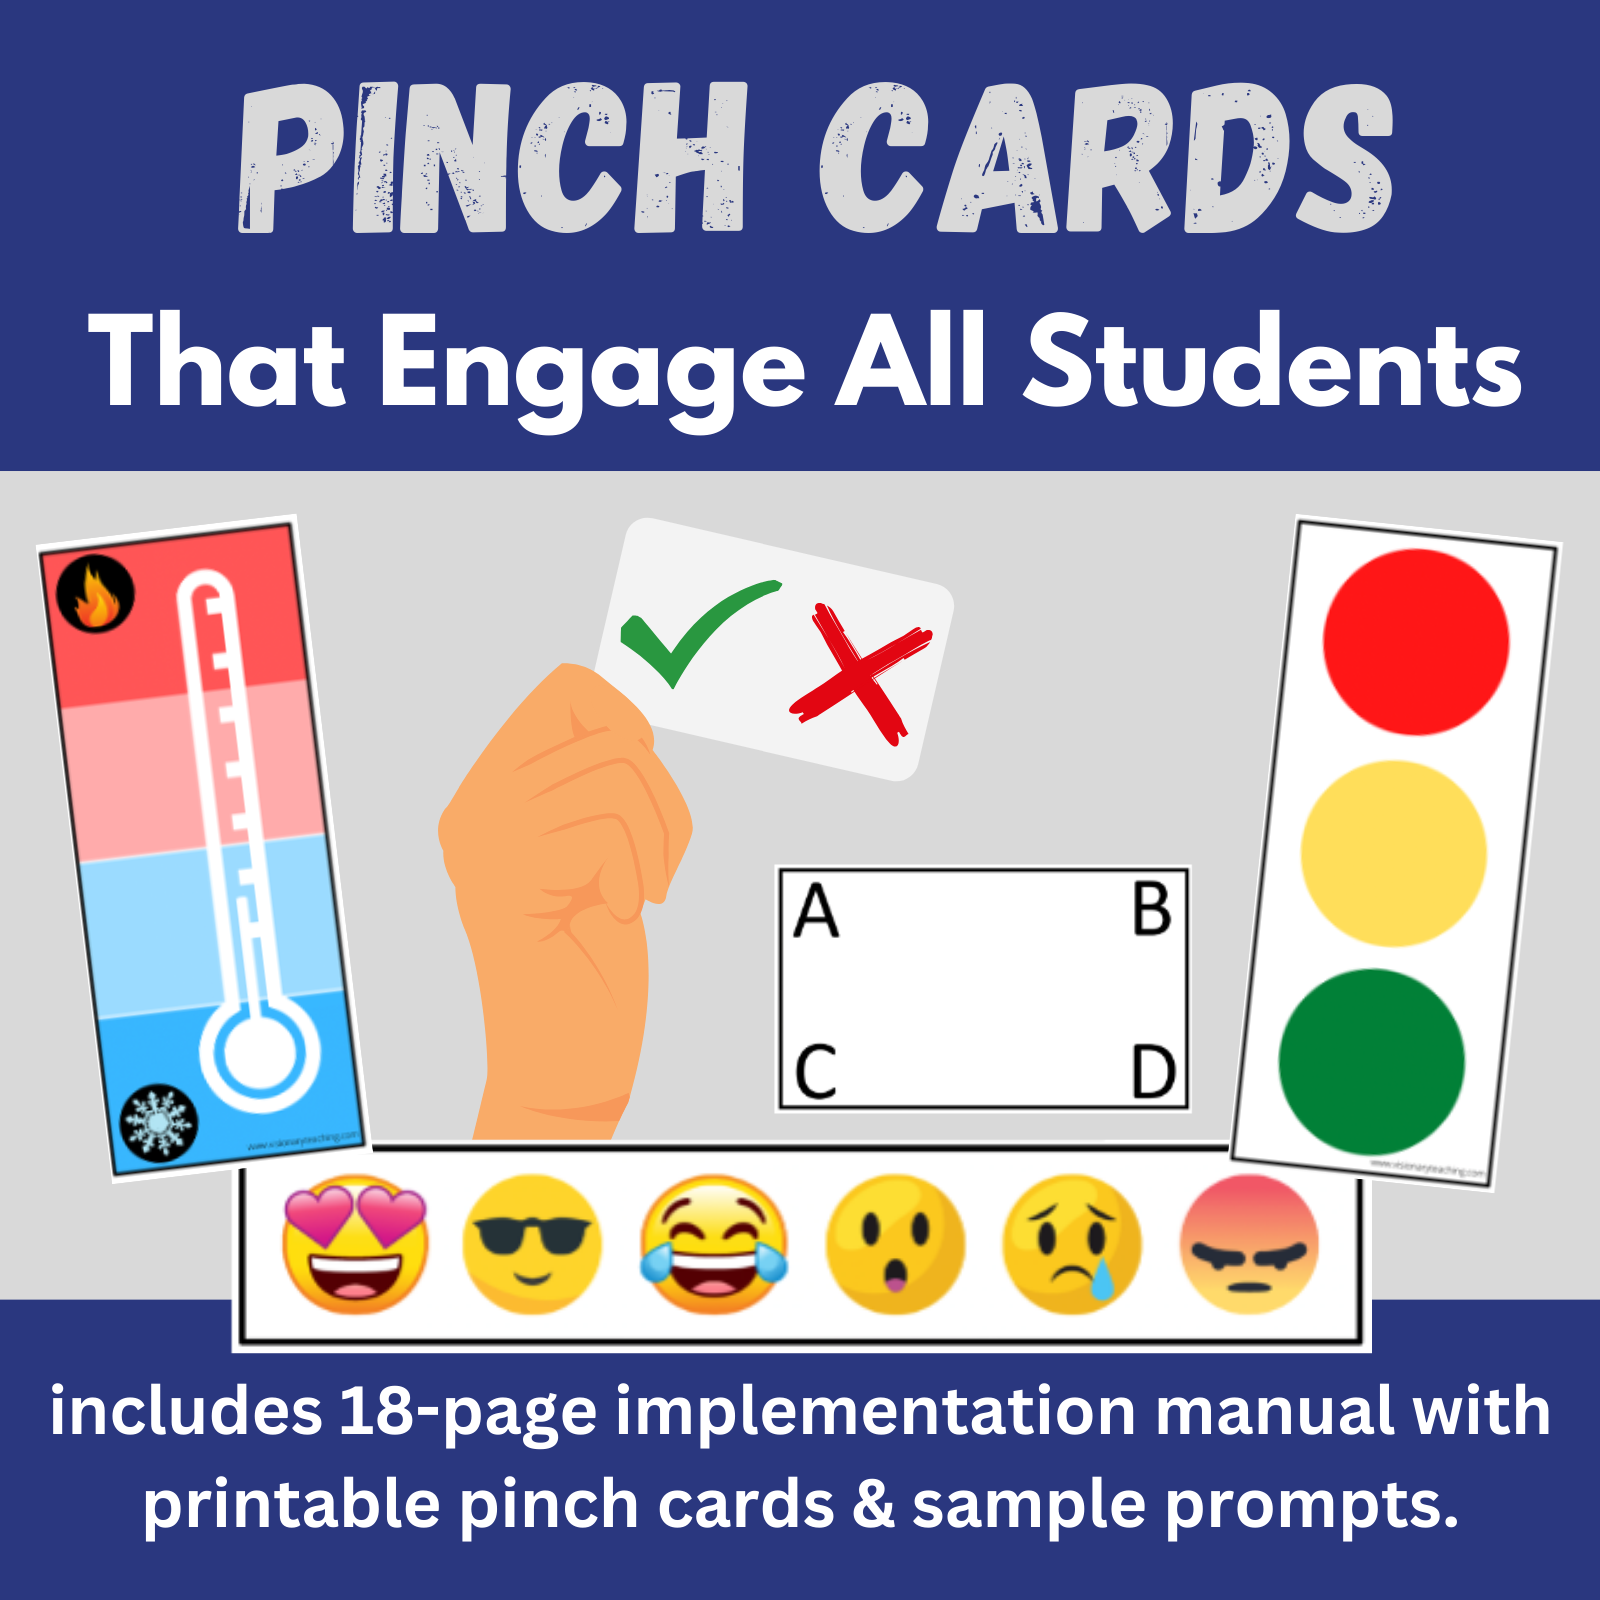
If you are unfamiliar with pinch cards, check out this previous blog post. These strategies are very engaging for students and work equally well in live or virtual classroom settings. The idea is that students respond to a prompt or question by holding up a card for the camera. Once again, the teacher is best served by using gallery view. Some of my favorite pinch cards are Emoji strip, multiple choice, and agree/disagree.

Chat Box
Using the chat box as a student response type does not require much explanation. The teacher poses a question or prompt and students type in their answers. This is another versatile tool as students can respond with sentences, words, numbers, etc. I would like to offer a couple of tips:
- It is ideal to have a second adult to monitor the chat box during virtual instruction. As the teacher, it is very easy to get lost in your content and forget to check the chat box regularly for questions or responses.
2. Be sure to call out some of the responses and give affirmations to students who type in responses. “Great idea, Billy! Anika, I like the way that you are thinking.”

