Zoom has become part of our daily lives. Many people have mastered the basics like muting/unmuting, turning the camera on/off, and using the chat feature. Some have gotten the hang of using annotation tools, sharing a screen, and using breakout rooms. But Zoom can do so much more. Below are 10 things that you probably didn’t know you could do on Zoom.
For a full color, detailed guide to these 10 techniques and so much more, sign up for the Visionary Teaching newsletter:
[mailerlite_form form_id=5]1) You can use video backgrounds.
Many Zoom users already know that you can use a photograph as your virtual background. But did you know that you can also use a video file as your background? According to Zoom, you can use “a video (MP4 or MOV file) with a minimum resolution of 480 by 360 pixels (360p) and a maximum resolution of 1920 by 1080 pixels (1080p).” Here is how:
2) Your PowerPoint slides can be your virtual background.
Here is another option for a virtual background. You can project live video of yourself over top of your PowerPoint slides. Check out the video below to learn how. Make sure that you leave open space on your slides so that your video placement doesn’t block important information.
3) Share only a portion of your screen.
Most people who have hosted a Zoom meeting know how to share their screen. Sometimes we may not want our audience to see our entire screen. Here is what you can do:
- Click the Share Screen on the toolbar.
- Click the Advanced tab at the top.
- Select the Portion of Screen option and then click Share.
- Resize the green window to cover your selected portion of the screen.
4) Increase the size of your gallery view.
If you are a teacher or a trainer you probably utilize gallery view often, especially when you are offering whole group opportunities to respond. If you have a particularly large group, you may have noticed that the default on Zoom limits your gallery view to 25 participants. You can change this setting to view up to 49 participants at a time.
Go to Settings> Video> check the box that says display up to 49 participants
(Request the FREE Visionary Teaching Zoom Guide that walks you through this and many other features.)
5) The host can instantly mute or unmute the entire group.
You can accomplish this with the following shortcuts:
Mac: Command + Ctrl + M
PC: Alt + M
6) You can change your screen display name.
There are a number of great reasons for changing your screen name. Perhaps you want others to call you by a nickname. Maybe the meeting is being recorded and you don’t want your full name to be included on the recording. I sometimes choose to use the name of my business, Visionary Teaching, in place of my given name.
7) Attendees can choose their own breakout rooms.
As the host of a Zoom meeting, you have a few breakout room options. The most common choice allows you to indicate how many different rooms you want and then randomly assign attendees. You also have the option of manually placing attendees into specific breakout rooms. A third option allows each attendee to select the breakout room of their choice. This option works best when each breakout room represents a different topic or area of instruction. The image below shows the 3 breakout room options that are available to meeting hosts.

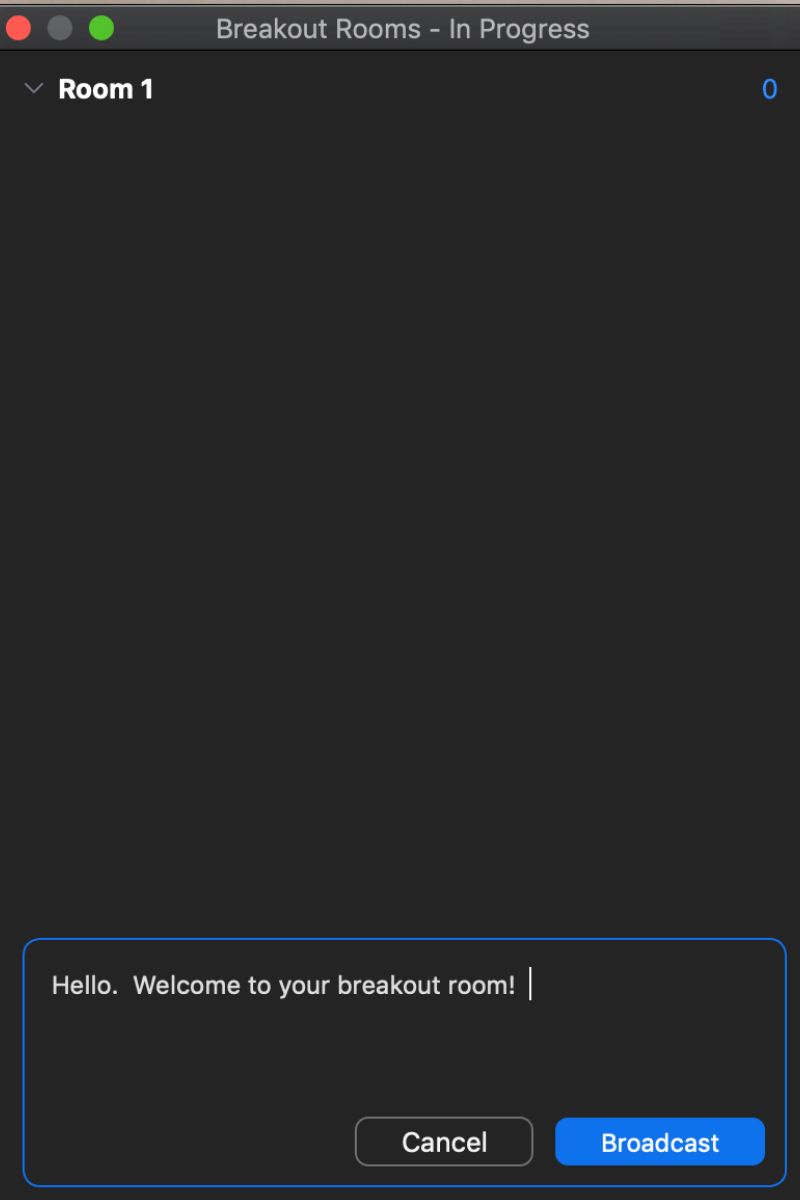
8) The host can broadcast messages to people who are in breakout rooms.
You can send messages to the breakout rooms. Perhaps you want to clarify instructions or give a gentle warning that the rooms will close in a few minutes.

9) You can share files with other people during a Zoom meeting.
It is easy to share a .pdf, photo, slide deck, or most any other file type in the chat box. Here is how:
10) Schedule reminders for upcoming meetings.
While I have not missed a Zoom meeting yet, there is always the fear that I will get wrapped up in something and forget to join. I no longer worry about that because I know how to set reminders for myself. Here is how:
- In the Zoom Desktop app, click your profile picture and then select Settings.
- Click the General tab.
- Check the option Remind me X minutes before my upcoming meetings.
We are all continuing to learn new tips and tricks on Zoom and other virtual platforms. I hope that you are able to apply at least one of these ideas to your next Zoom class, training, or meeting. Be sure to share your great ideas with your colleagues.
Happy teaching!


